Developing and launching an app in just one day: "Scroll Browser"
 |  |  |
|---|
When I watch eBooks, webtoons, or web novels for a long time, my scrolling finger gets tired. Some viewers support automatic scrolling, but they are very few and did not suit my taste.
So the app I had noted in my idea notebook was "Scroll Browser," which supports an automatic scroll feature.
Since I had already thought about the features to implement and how to implement them, I felt it was best to proceed quickly. I focused on the main feature implementation rather than the details, aiming for a one-day development timeline.
I will briefly write down the steps in the order I implemented them.
1. Setting Up React Native Project Environment
Using Expo would be faster, but I chose to use React Native CLI for familiarity and scalability. The official React Native documentation makes it difficult to find how to start with CLI, as it seems to recommend Expo. (Why...?)
- Create React Native project and set up basic environment.
- Install and apply react-navigation.
- Install and apply react-native-webview.
4. Developing the Main Screen
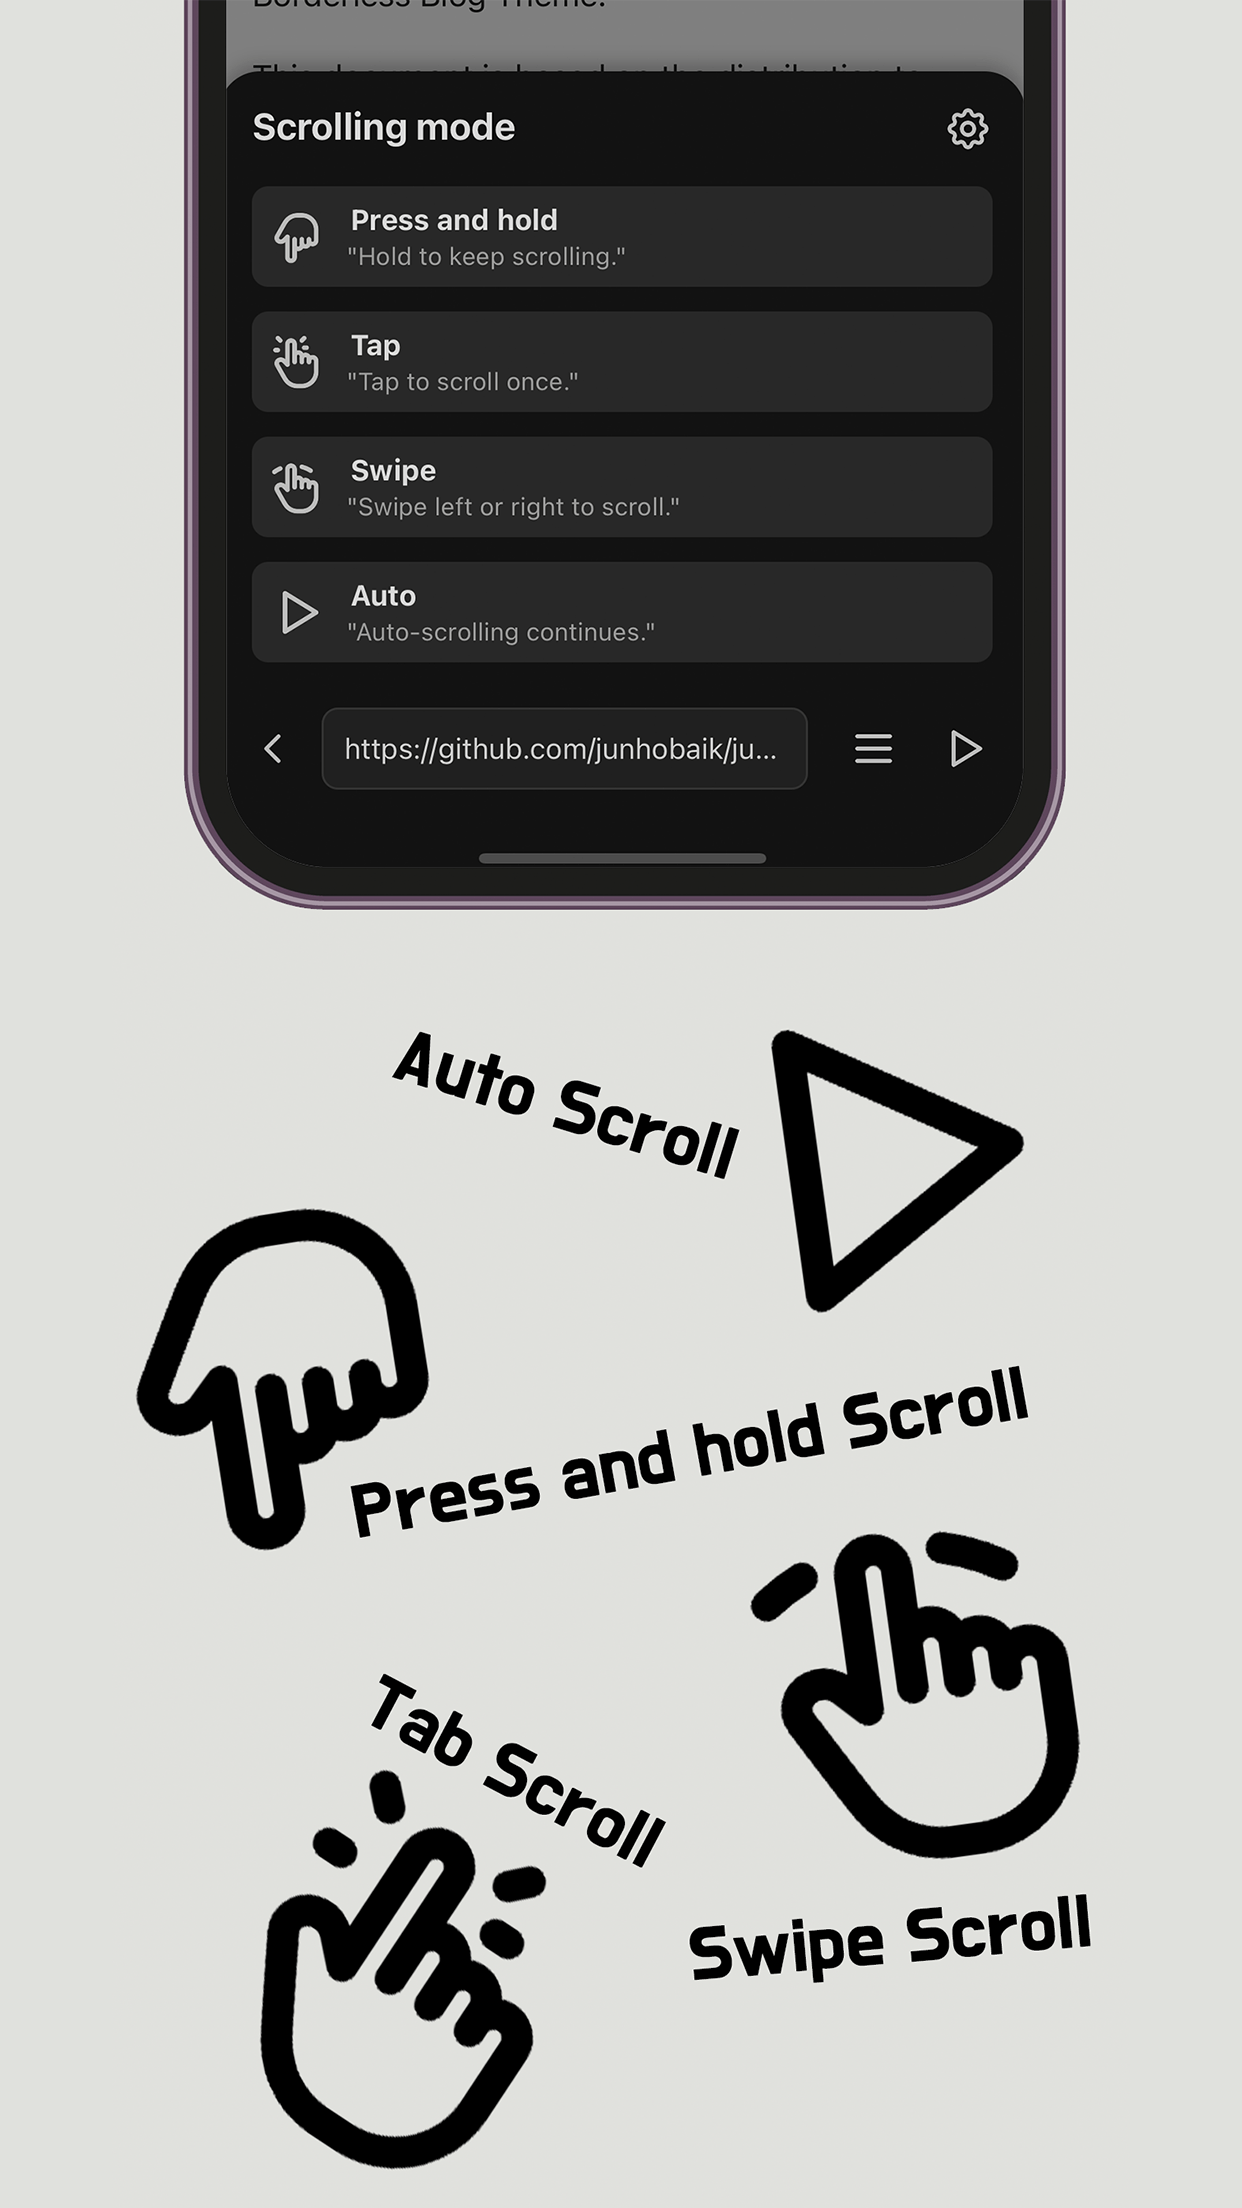
This screen resembles a mobile browser, with a web view and an address bar at the bottom. It activates the scrolling convenience feature through actions like pressing the web page or the play button at the bottom.
I quickly developed it alongside Claude. Just to be safe, I roughly said, "Please implement this feature," but the results were far from what I expected. However, since I knew the necessary features and implementation methods, I could quickly achieve results just by providing the correct direction and methods.
The scroll function works when pressing, holding, or swiping on the web page, but making sure that interactions with objects like buttons on the web page work without interference took some time.
5. Developing the Bottom Sheet Component
I quickly implemented the bottom sheet component using Claude. However, I couldn't handle the SafeArea correctly, so I modified it manually.
5. Applying react-native-mmkv
Since I was only developing on one screen, I forgot to utilize global state storage and maintenance, leading to a late application. This was to ensure that the last accessed web page would be retained even after restarting the app, as well as to maintain additional settings.
6. Developing the Additional Settings Screen
I created a detailed settings screen to allow adjustments for scroll speed during automatic scrolling, long press delay values, and other fine-tuned settings.
7. Applying Splash Screen & Creating and Implementing Icons
Before the splash screen, I first created the icon assets. I generated a few images roughly through DALL.E and created the icons by modifying and combining them in Photoshop. Although I'm not entirely pleased with the result, I couldn't think of anything better, so I decided to go with this for now.
7. Preparing for Deployment
Though there were many non-development tasks, these were essential for deployment and could not be done too carelessly, which made this part time-consuming.
- Modify app display name, minimum required version, icon assets, etc. => iOS App Archive
- Create app promotional images. It isn’t pretty, but decent enough with Photoshop...
- Enter iOS App Connect information. Create Google forms for privacy policy and support URL, write app title and description...
- Request review!
 |  |  |  |  |
|---|
etc. Issue Report
- An issue occurred during the iOS Archive process. It was identified as an error between react-native and hermes, and looking at the rn repo, it seemed to be an ongoing issue in the latest version. I solved it by lowering the version by one in the patch level.
- The iOS review was rejected due to age rating. Since browsing is possible, access to any content requires a 17+ rating. I modified it and requested a re-review.